
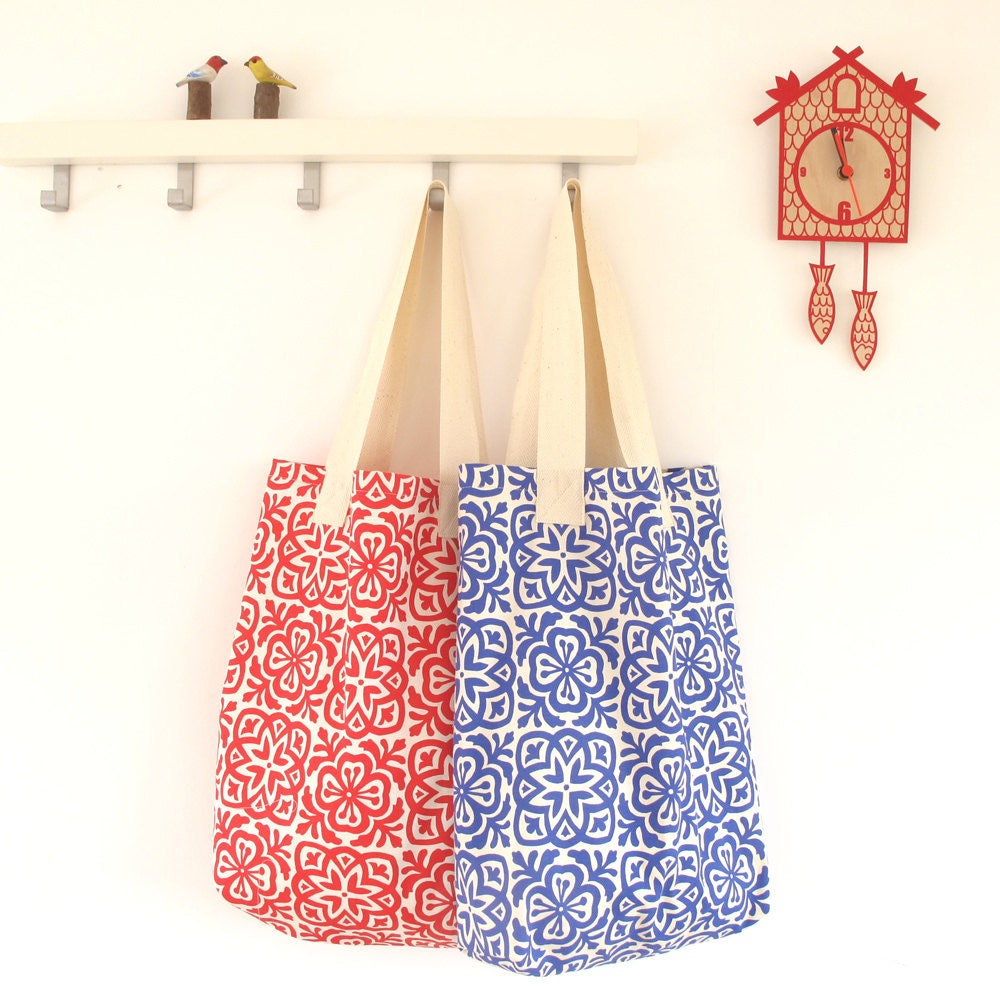
I've finally had a moment to write this quick and easy tutorial for turning one of my tea towels into a happy go lucky tote bag - perfect for the summer!
Of course you can use any tea towel, but the print needs to be either multi-directional or run horizontally across the tea towel, otherwise you'll be looking at it sideways.
It shouldn't take more than 30 minutes to make:

Fold the tea towel in half along its length and match the
two widths right sides together. The
seams may not be dead straight so match the pattern as best you can. Pin and sew a straight seam (you could mark
with a ruler before sewing to make it easier)

Keep or cut off any labels if necessary.

Press the seam open to fall down the centre back of the bag.

Sew along the seam at one of the open ends to make the base
of the bag, again mark with a ruler if uneven. There’s no need to over-lock the
seams as the job has already been done for you in its former life, making it
nice and quick!

To make the boxed bottom, make a triangle at one corner by
matching up the bottom seam along the length of the side crease. It’s easiest if you have a quilting ruler, if
not, use a square of card. Fold the card in half diagonally from corner to
corner and mark 4cm / 1.5” in from one of the opposite corners along the
diagonal crease. Fold the corner point in towards the middle so that the fold
line lands across the mark you’ve made.
Open out and match into the corner of your bag and mark each end of the
fold line to make a straight seam across the corner. Sew and repeat on the
other side.

Double stitch the seam for
added strength. Don’t trim this seam as leaving the corners intact will help to
support the bag and give it some shape.

For the top opening, press a hem to the inside - it will already have one fold from the tea towel - so another fold is enough.
 Top stitch on the outside.
For the handles I’ve used cotton webbing which is 4cm / 1.5”
wide. For shoulder length handles,
you’ll need approx. 66cm / 26” for each length which includes 8cm / 3” at each
end for attaching to the bag. Adjust accordingly if you want shorter /longer
handles.

Press the corners in on each end of the straps and then fold
over again 2.5cm / 1” and press

Pin each end 5cm / 2” down from the top of the bag, evenly
spaced in from the sides. Play around with the positioning until it looks right,
even try it over your shoulder to make sure it hangs how you want it. Make sure
that there are no twists in the handle before sewing!

Secure the handles to the bag by sewing a complete rectangle
close to the edge and then a diagonal across it for added strength. I played around with different ways of top
stitching here and this was my favourite and a very simple finish.

One last press and the jobs done.


Made with my Moroccan tile and Parade tea towels to be found in my Etsy shop.
You could also try contrasting colours for the handles.

Happy sewing!


